This post introduces
fast_template, the easiest way to create your own hosted blog. There’s no ads or paywall, and you have your own hosted blog using open standards and data that you own. It requires no coding, no use of the command line, and supports custom themes and even your custom domain (which is entirely optional). Behind the scenes, you’ll be using powerful foundations like git and Jekyll. But you won’t have to learn anything about these underlying technologies; instead, I’ll show you how to do everything using a simple web-based interface.
- TOC {:toc}
You should blog
Rachel Thomas, co-founder of fast.ai, said it best in her article Why you (yes, you) should blog:
The top advice I would give my younger self would be to start blogging sooner. Here are some reasons to blog: - It’s like a resume, only better. I know of a few people who have had blog posts lead to job offers! - Helps you learn. Organizing knowledge always helps me synthesize my own ideas. One of the tests of whether you understand something is whether you can explain it to someone else. A blog post is a great way to do that. - I’ve gotten invitations to conferences and invitations to speak from my blog posts. I was invited to the TensorFlow Dev Summit (which was awesome!) for writing a blog post about how I don’t like TensorFlow. - Meet new people. I’ve met several people who have responded to blog posts I wrote. - Saves time. Any time you answer a question multiple times through email, you should turn it into a blog post, which makes it easier for you to share the next time someone asks.
Perhaps her most important tip is this: “You are best positioned to help people one step behind you. The material is still fresh in your mind. Many experts have forgotten what it was like to be a beginner (or an intermediate) and have forgotten why the topic is hard to understand when you first hear it. The context of your particular background, your particular style, and your knowledge level will give a different twist to what you’re writing about.”
Unfortunately, when it comes to blogging, it seems like you have to make a decision: either use a platform that makes it easy, but subjects you and your readers to advertisements, pay walls, and fees, or spend hours setting up your own hosting and weeks learning about all kinds of intricate details. Perhaps the biggest benefit to the “do-it-yourself” approach is that you really owning your own posts, rather than being at the whim of a service provider, and their decisions about how to monetize your content in the future.
It turns out, however, that you can have the best of both worlds! You can host on a platform called GitHub Pages, which is free, has no ads or pay wall, and makes your data available in a standard way such that you can at any time move your blog to another host. But all the approaches I’ve seen to using GitHub Pages have required knowledge of the command line and arcane tools that only software developers are likely to be familiar with. For instance, GitHub’s own documentation on setting up a blog requires installing the Ruby programming language, using the git command line tool, copying over version numbers, and more. 17 steps in total!
We’ve curated an easy approach, which allows you to use an entirely browser-based interface for all your blogging needs. You will be up and running with your new blog within about five minutes. It doesn’t cost anything, and in the future, you can easily add your own custom domain to it if you wish to. Here’s how to do it, using a template we’ve created called fast_template.
Creating the repository
You’ll need an account on GitHub. So, head over there now, and create an account if you don’t have one already. Make sure that you are logged in. Normally, GitHub is used by software developers for writing code, and they use a sophisticated command line tool to work with it. But I’m going to show you an approach that doesn’t use the command line at all!
To get started, click on this link: https://github.com/fastai/fast_template/generate . This will allow you to create a place to store your blog, called a “repository”. You will see the following screen; you have to enter your repository name using the exact form you see below, that is, the username you used at GitHub followed by “.github.io”.
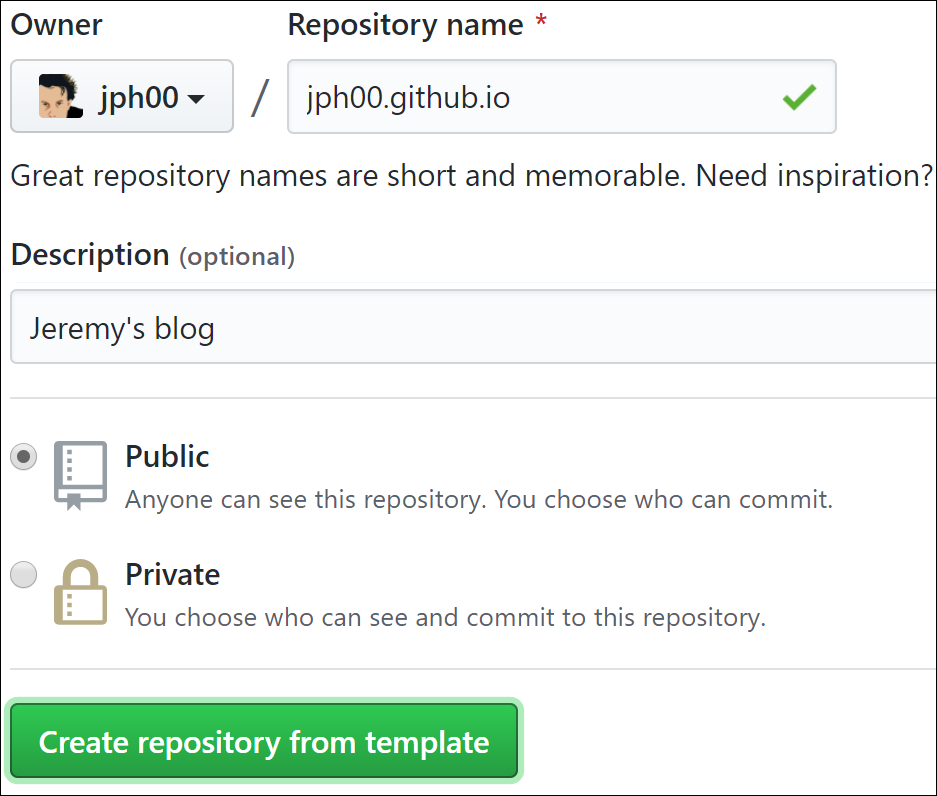
Important: Note that if you don’t use username.github.io as the name, it won’t work!
Once you’ve entered that, and any description you like, click on “create repository from template”. Note that, unless you pay, you need to make your repository “public”. But since you are creating a blog that you want other people to read, having the underlying files publicly available hopefully won’t be a problem for you.
Setting up your homepage
When readers first arrive at your blog the first thing that they will see is the content of a file called “index.md”. This is a markdown file. Markdown is a powerful yet simple way of creating formatted text, such as bullet points, italics, hyperlinks, and so forth. It is very widely used, including all the formatting in Jupyter notebooks, nearly every part of the GitHub site, and many other places all over the Internet. To create markdown text, you can just type in plain regular English. But then you can add some special characters to add special behavior. For instance, if you type a * character around a word or phrase then that will put it in italics. Let’s try it now.
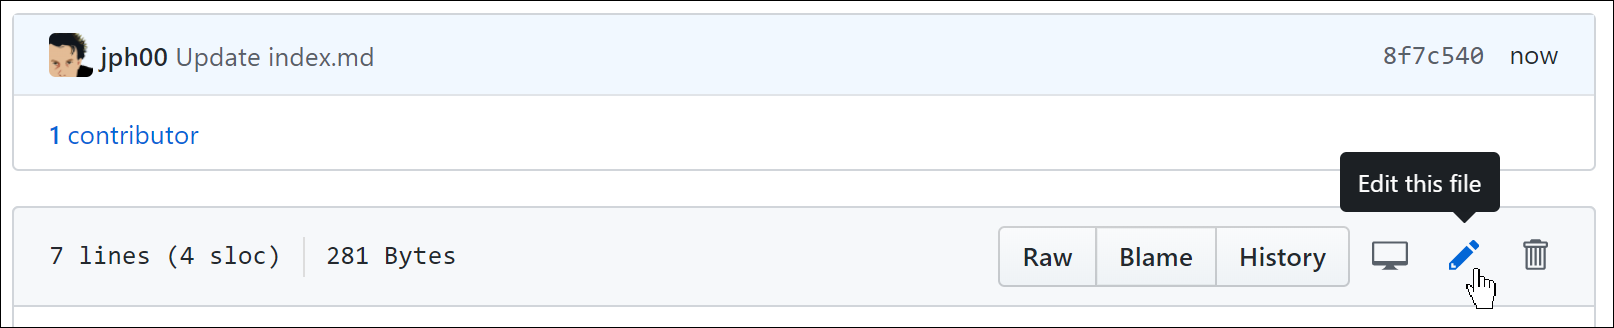
To open the file, click its file name in GitHub.

To edit it, click on the pencil icon at the far right hand side of the screen.
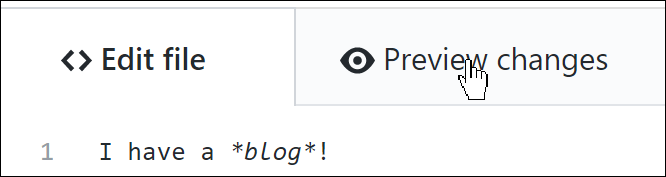
You can add, edit, or replace the texts that you see. Click on the “preview changes” button to see how well your markdown text will look on your blog. Lines that you have added or changed will appear with a green bar on the left-hand side.
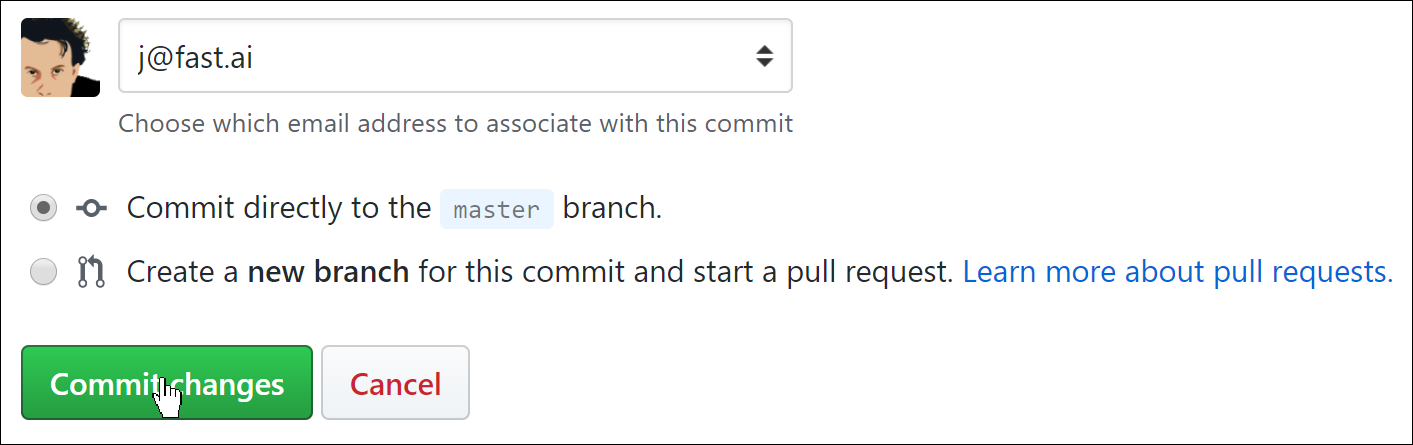
To save your changes to your blog, you must scroll to the bottom and click on the “commit changes” green button. On GitHub, to “commit” something means to save it to the GitHub server.
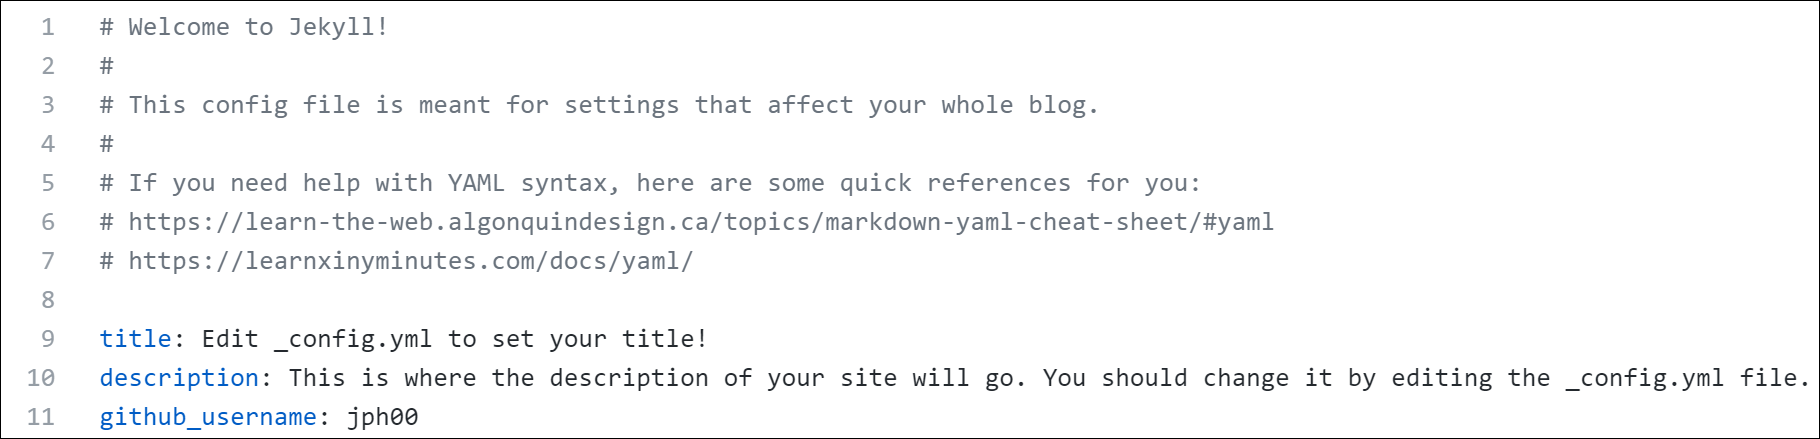
Next, you should configure your blog’s settings. To do so, click on the file called “*_config.yml*”, and then click on the edit button like you did for the index file above. Change the title, description, and GitHub username values. You need to leave the names before the colons in place and type your new values in after the colon and space on each line. You can also add to your email and Twitter username if you wish — but note that these will appear on your public blog if you do fill them in here.
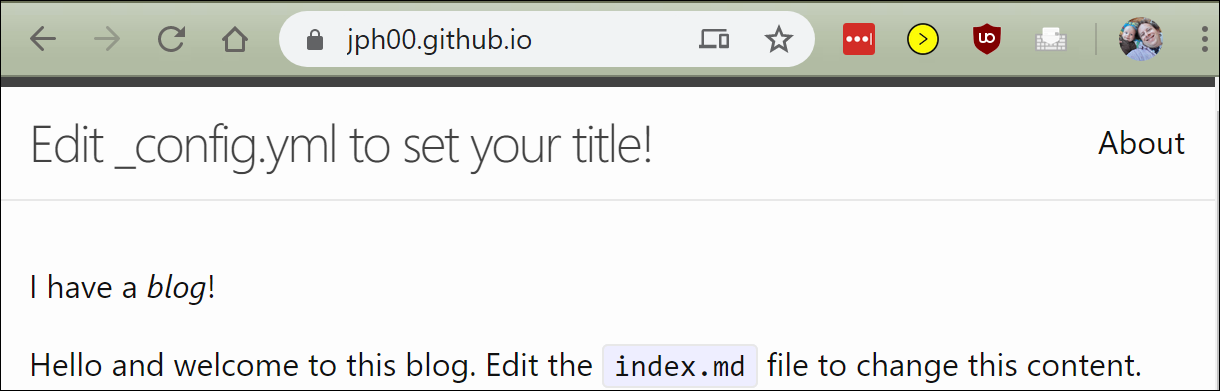
After you’re done, commit your changes just like you did with the index file before. Then wait about a minute, whilst GitHub processes your new blog. Then you will be able to go to your blog in your web browser, by opening the URL: username.github.io (replace “username” with your GitHub username). You should see your blog!
Creating posts
Now you’re ready to create your first post. All your posts will go in the “_posts” folder. Click on that now, and then click on the “create file” button. You need to be careful to name your file in the following format: “year-month-day-name.md”, where year is a four-digit number, and month and day are two-digit numbers. “Name” can be anything you want, that will help you remember what this post was about. The “md” extension is for markdown documents.

You can then type the contents of your first post. The only rule is that the first line of your post must be a markdown heading. This is created by putting “#” at the start of a line (that creates a level 1 heading, which you should just use once at the start of your document; you create level 2 headings using “##”, level 3 with “###”, and so forth.)
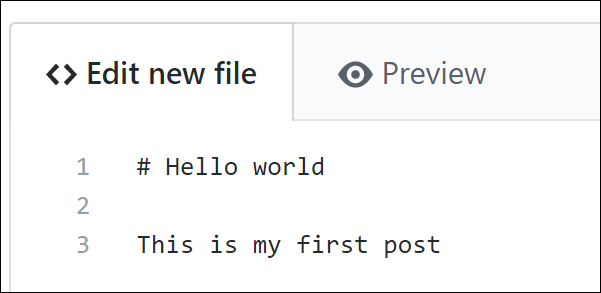
As before, you can click on the “preview” button to see how your markdown formatting will look.

And you will need to click the “commit new file” button to save it to GitHub.

Have a look at your blog homepage again, and you will see that this post has now appeared! (Remember that you will need to wait a minute or so for GitHub to process it.)

You’ll also see that we provided a sample blog post, which you can go ahead and delete now. Go to your posts folder, as before, and click on “2020-01-14-welcome.md”. Then click on the trash icon on the far right.
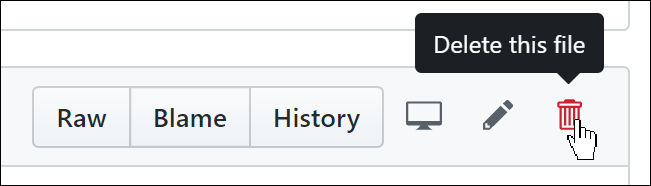
In GitHub, nothing actually changes until you commit— including deleting a file! So, after you click the trash icon, scroll down to the bottom and commit your changes.
You can include images in your posts by adding a line of markdown like the following:
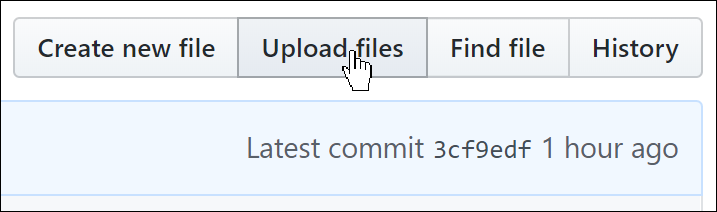
For this to work, you will need to put the image inside your “images” folder. To do this, click on the images folder to go into it in GitHub, and then click the “upload files” button.
Going further
If you want to add a table of contents to your post (like this one), then add these 2 lines to your post in the place you want your table of contents to appear:
1. TOC
{:toc}
Any headings that you’ve created (by starting a line with one or more # characters) will appear in the table of contents, with automatic links to the sections.
You can also add math equations using LaTeX within a paragraph by including them in $ characters, like this: $\sum_n (x)$, which appears as: \(\sum_n (x)\) . Or you can put them in their own paragraph by surrounding them in $$ on a line by themselves, like this:
$$
\sum_n (x)
$$
To make LaTeX math work in your blog, you have to change the line that reads use_math: in _config.yml so it reads:
use_math: trueNow you know how to create a blog! That just leaves the question of just what to write in it… Rachel Thomas has provided some helpful thoughts in her article Advice for Better Blog Posts.
Want more? Then be sure to check out my followup post, where I show some of the powerful features that GitHub Pages supports, such as custom domains, and the ability to synchronize a folder on your own computer with GitHub and use your own word processing software. I’ll also introduce you to the wonderful world of git, a powerful software tool that may just change your life for the better…