If you’re considering starting a blog, then you’ve probably noticed there are a lot of options to choose from! But it seems like every option requires some serious compromises. For instance, Medium is a great way to get started really easily, but it is not at all flexible, and you hand over control of your posts to a company, rather than maintaining control yourself (and Medium has a history of changing its mind about how it monetizes its users, sometimes resulting in angry customers!) Or you could use WordPress, and either pay for the privilege, or have ads displayed to your readers. Or you could host your own blog, running some blogging software on a server, which means all the complexity and headaches of paying for and managing a server, and handling its security.
We’ve developed a solution with none of these downsides, by taking advantage of a service called GitHub Pages. Using our solution, which we call “fast_template”, you own your own posts, can write your posts on your PC or using an online editor, have no ads, and its all free. I’ve written a series of four tutorial posts explaining how this all works. For getting started, you only need to read the first; the remaining posts add more functionality as and when you need it. Here are the posts; see below for a brief summary of each.
- Your own hosted blog, the easy, free, open way (even if you’re not a computer expert)
- Syncing your blog with your PC, and using your word processor
- Blogging with screenshots
- Blogging with Jupyter Notebooks
Your own hosted blog, the easy, free, open way
The first post introduces fast_template, the easiest way to create your own hosted blog. There’s no ads or paywall, and you have your own hosted blog using open standards and data that you own. It requires no coding, no use of the command line, and supports custom themes and even your custom domain (which is entirely optional). Behind the scenes, you’ll be using powerful foundations like git and Jekyll. But you won’t have to learn anything about these underlying technologies; instead, I’ll show you how to do everything using a simple web-based interface.

Syncing your blog with your PC, and using your word processor
GitHub does more than just let you copy your repository to your computer; it lets you synchronize it with your computer. So, you can make changes on GitHub, and they’ll copy over to your computer, and you can make changes on your computer, and they’ll copy over to GitHub. You can even let other people access and modify your blog, and their changes and your changes will be automatically combined together next time you sync.
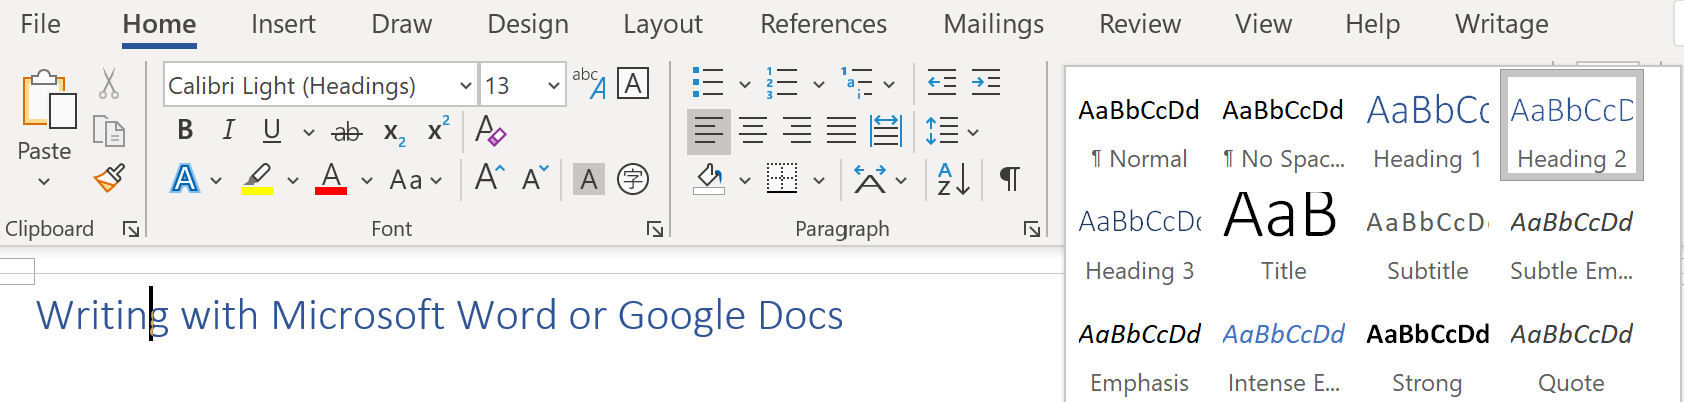
One place this is particularly handy is for creating posts with lots of images, especially screen shots that you copy with your computer. I find these much easier to create in Microsoft Word, since I can paste my images directly into the document (Google Docs provides similar functionality). You can convert your Microsoft Word documents into markdown blog posts
In the second post I explain how to get all this working, and I also show you how to make your site more professional, by using your own domain name.
Blogging with screenshots
One of the most useful tools for blogging is screenshots. You can use a screenshot for all kinds of things. I find it particularly useful for including stuff that I find on the Internet. By combining this with writing blogs in Microsoft Word or Google Docs it makes it particularly easy to include pictures in your posts. You don’t have to worry about finding special HTML syntax to embed a tweet, or downloading and resizing an appropriate sized image to include some photo that you found, or any other special approach for different kinds of content. Anything that appears on the screen, you can take a screenshot, so you can put it in your post!
In the third post I show how to include screenshots in your posts, and make them look great.
Blogging with Jupyter Notebooks
The fourth post is just for folks that want to include code in their blog posts. If you’re including code, you’ll probably want to show the results of that code too, whether they be text, tables, charts, or something else. The easiest way to create content like that is Jupyter Notebooks. I’ll show you how to easily create great looking blog posts from your notebooks, and include them in your fast_template blog.
plt.plot([1,2]);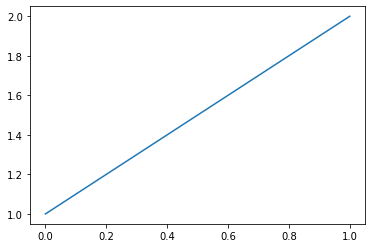
This techique uses our nbdev system, so you may also want to read our introductory post about that - nbdev: use Jupyter Notebooks for everything.