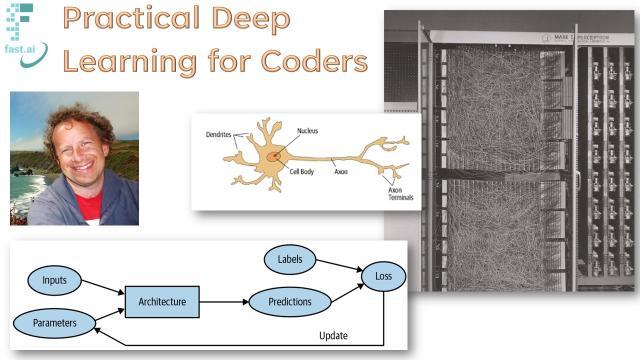
- Courses: How to Solve it With Code; Practical Deep Learning for Coders
- Software: fastai for PyTorch; nbdev
- Book: Practical Deep Learning for Coders with fastai and PyTorch
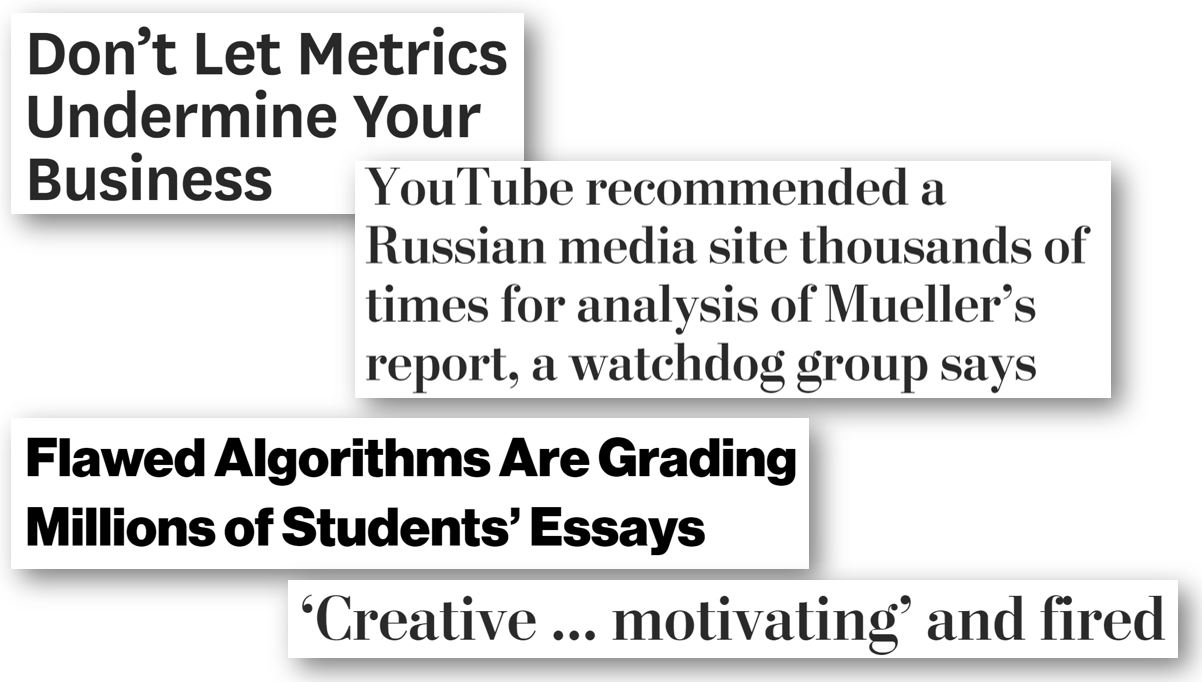
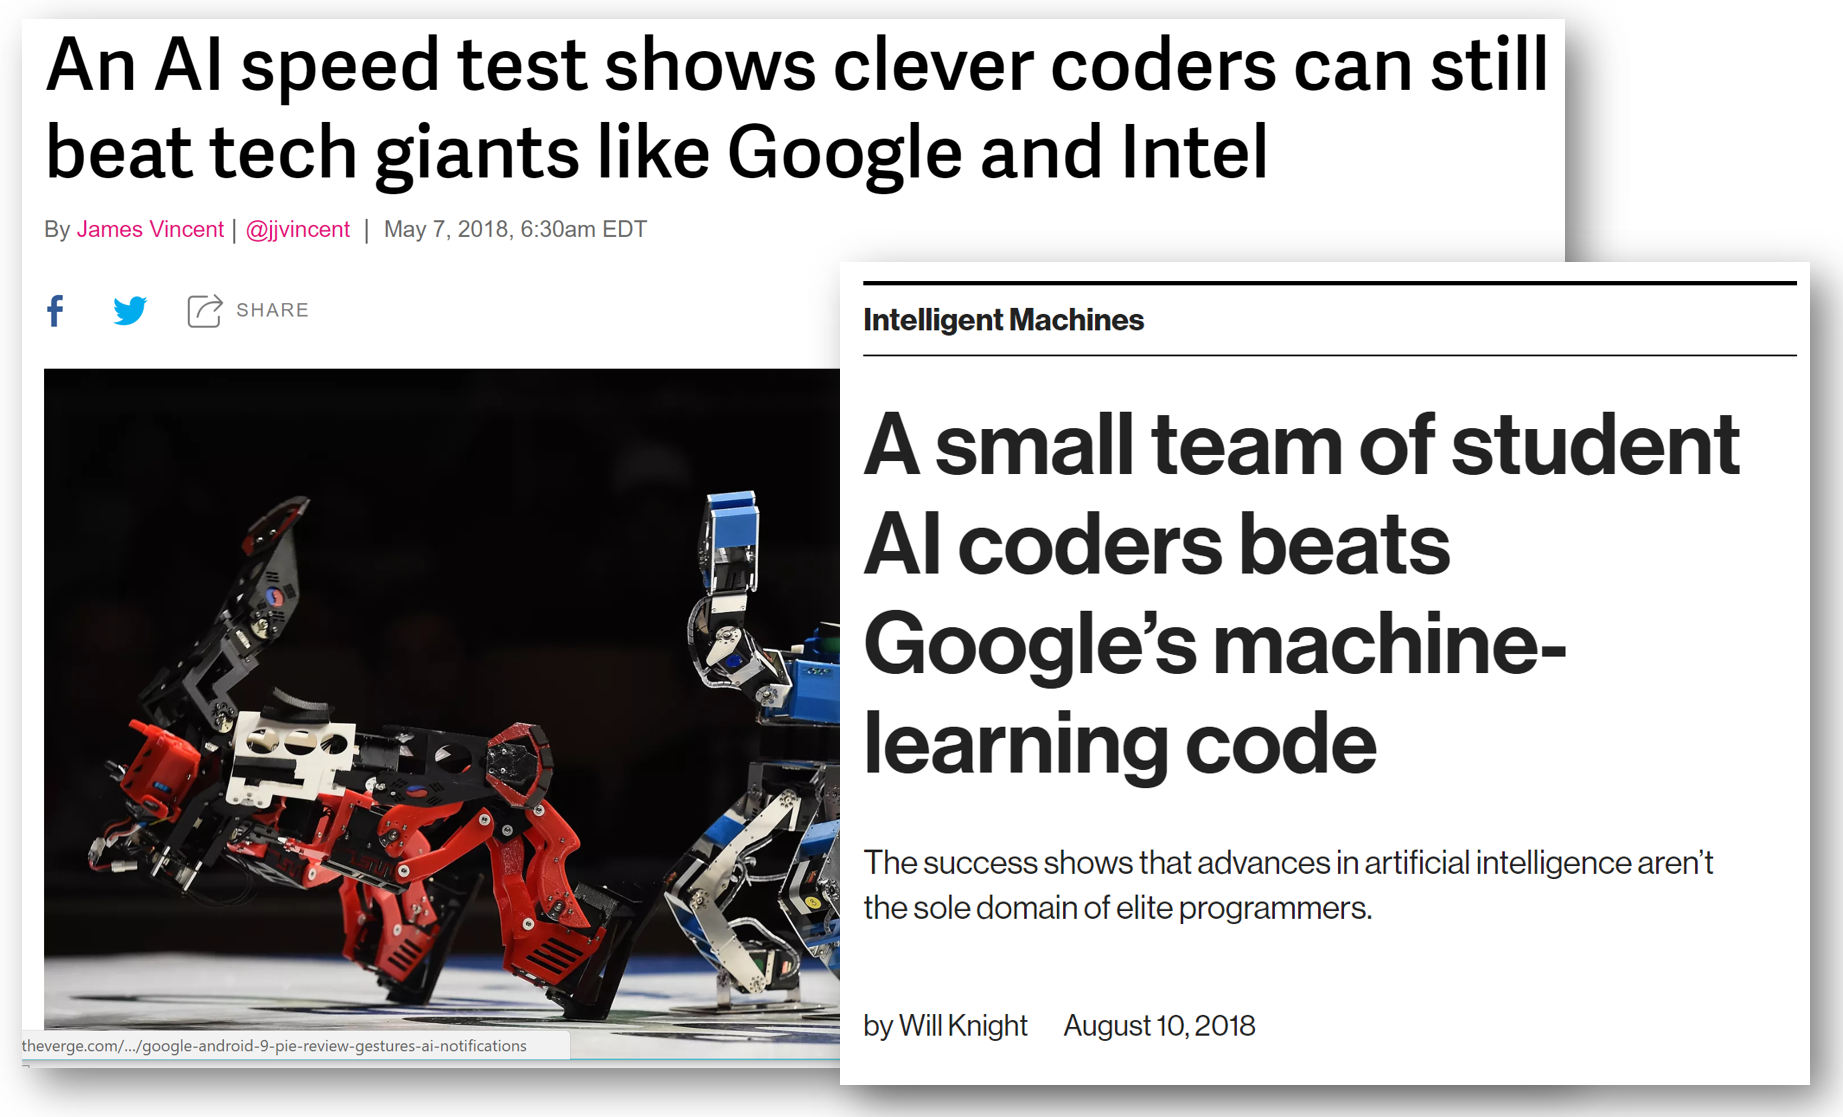
- In the news: The Economist; The New York Times; MIT Tech Review
Blog

Breaking the Spell of Vibe Coding
ai-in-society
technical
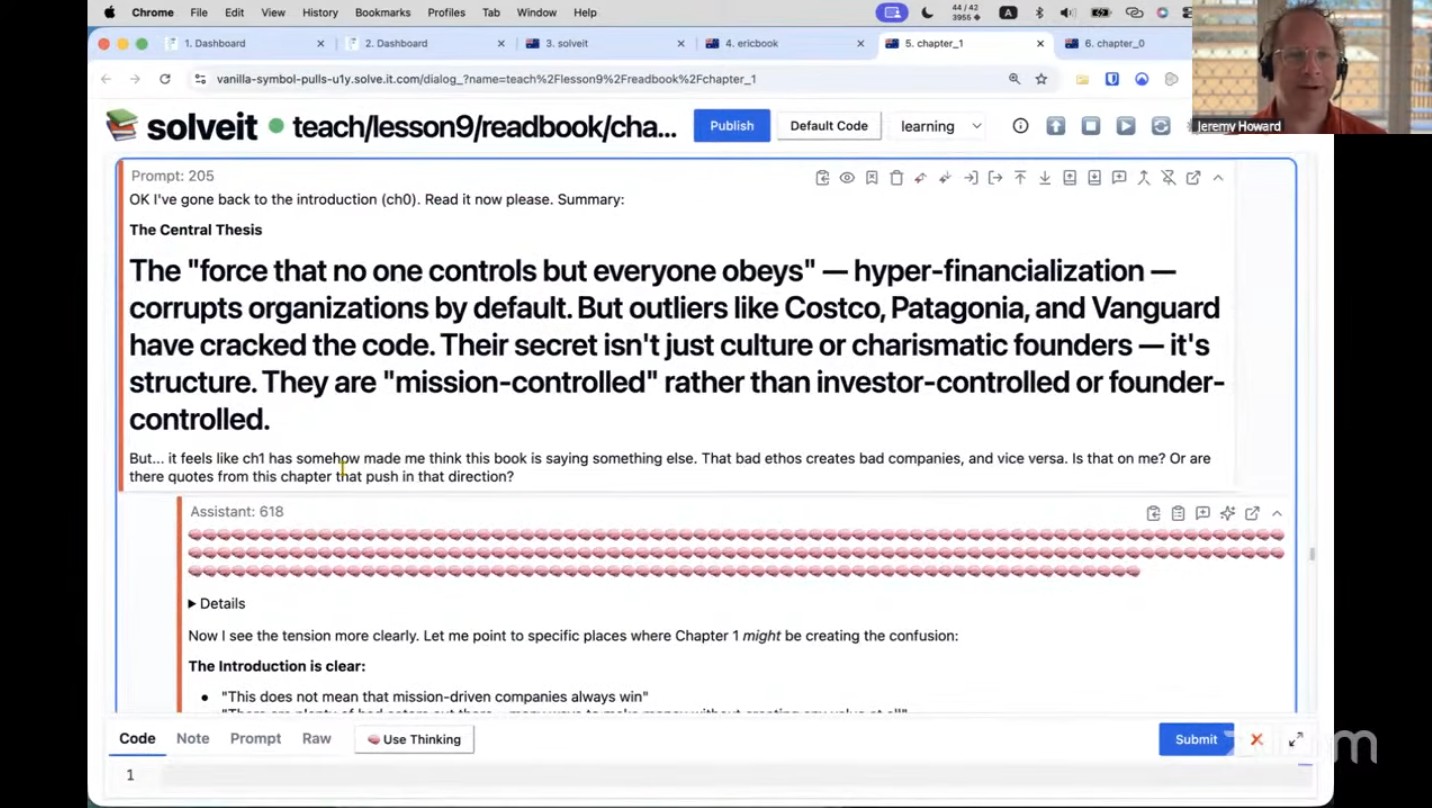
How To Use AI for the Ancient Art of Close Reading
education
technical


Qualitative humanities research is crucial to AI
ai-in-society


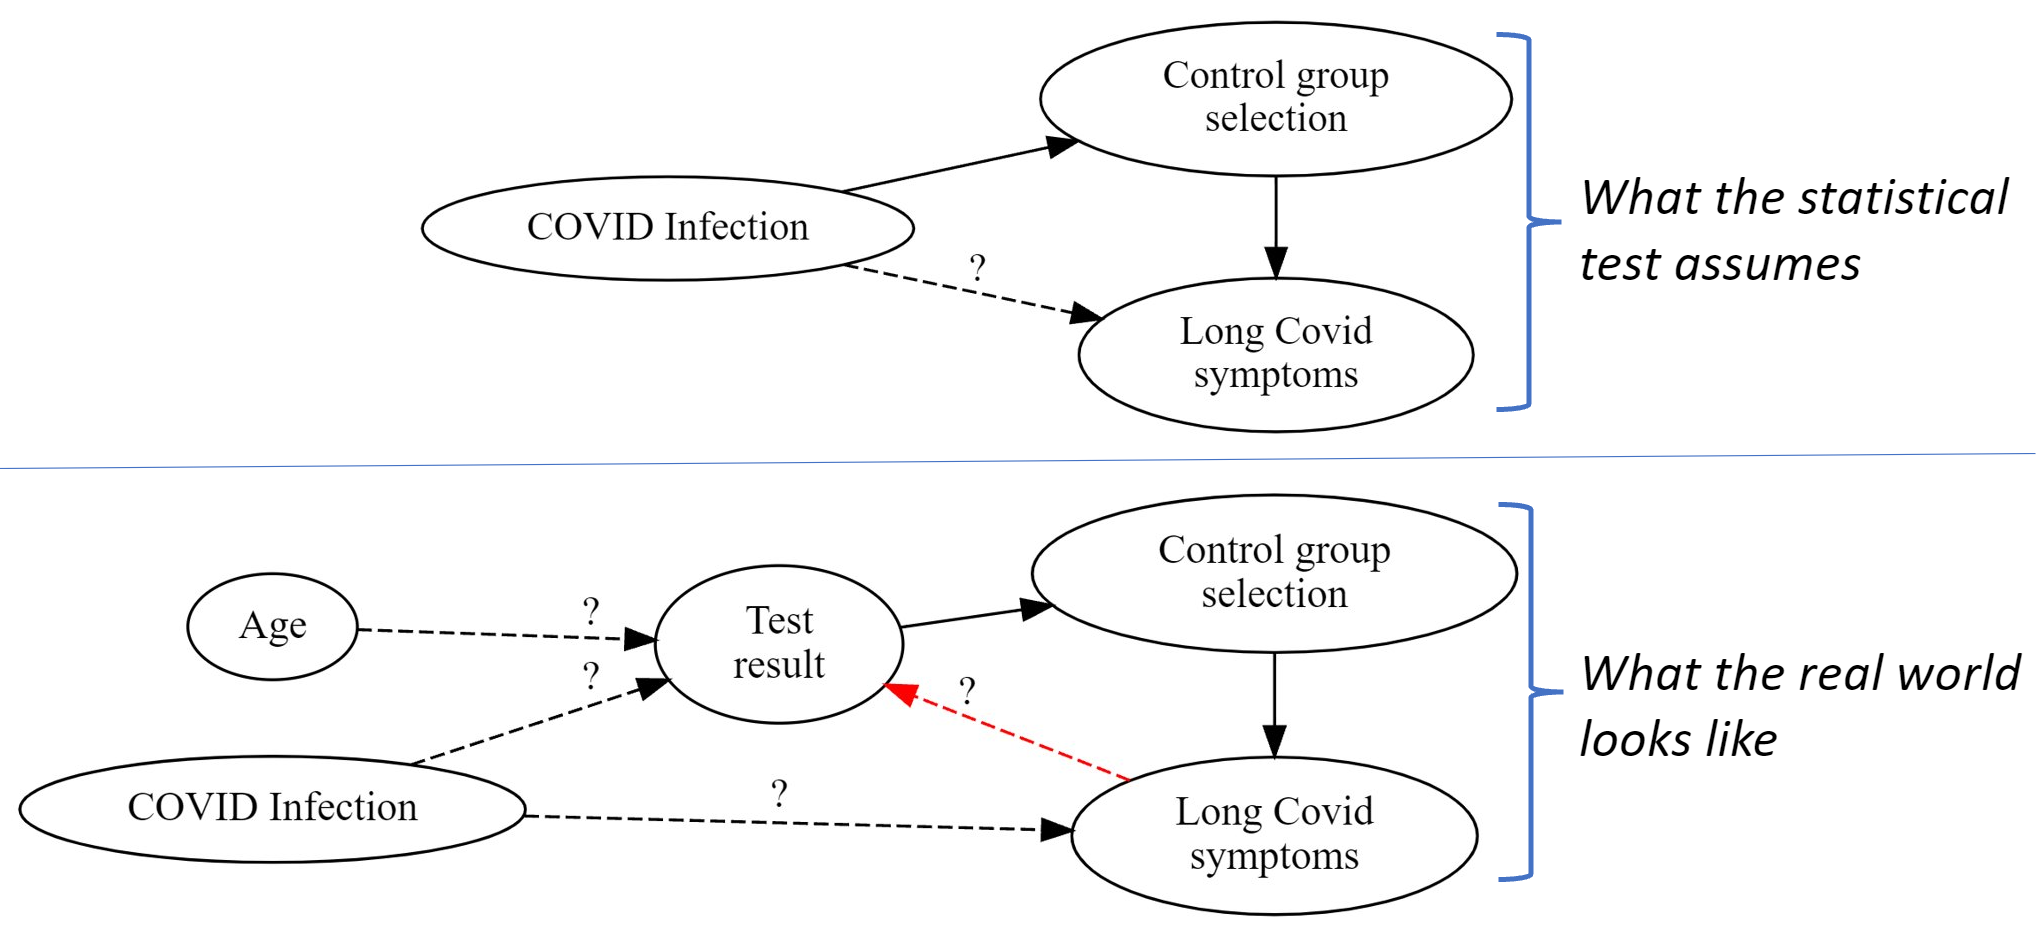
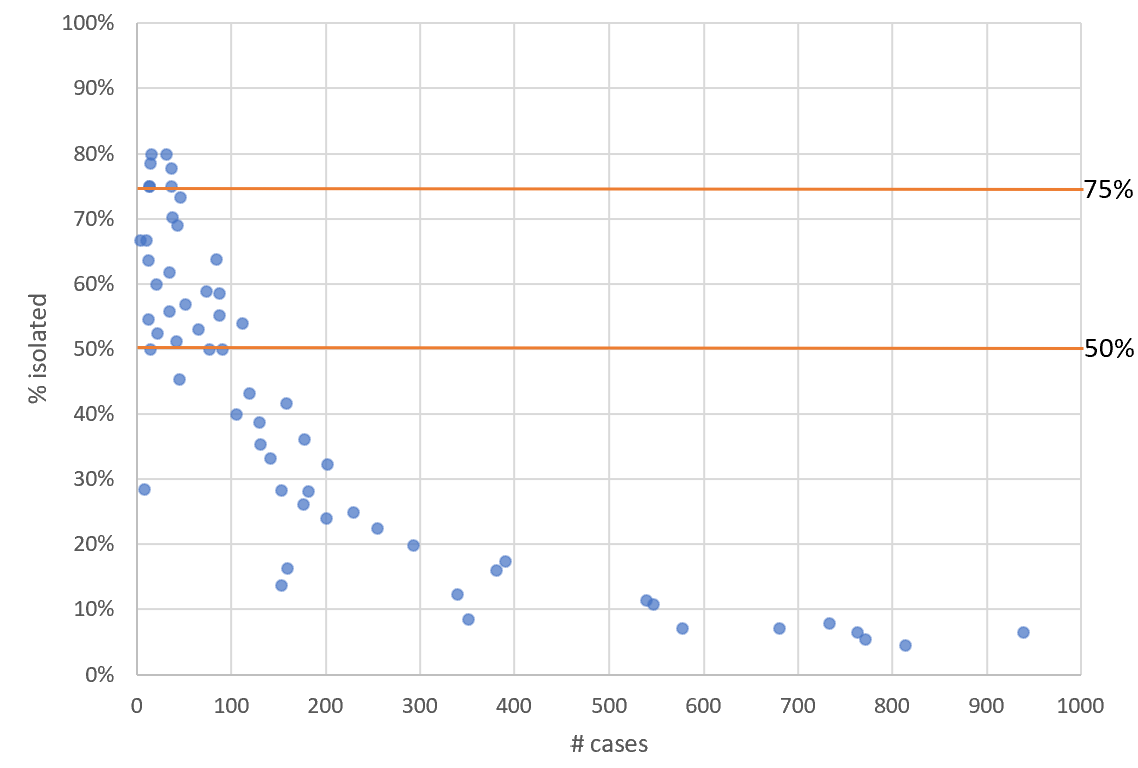
Statistical problems found when studying Long Covid in kids
health
technical
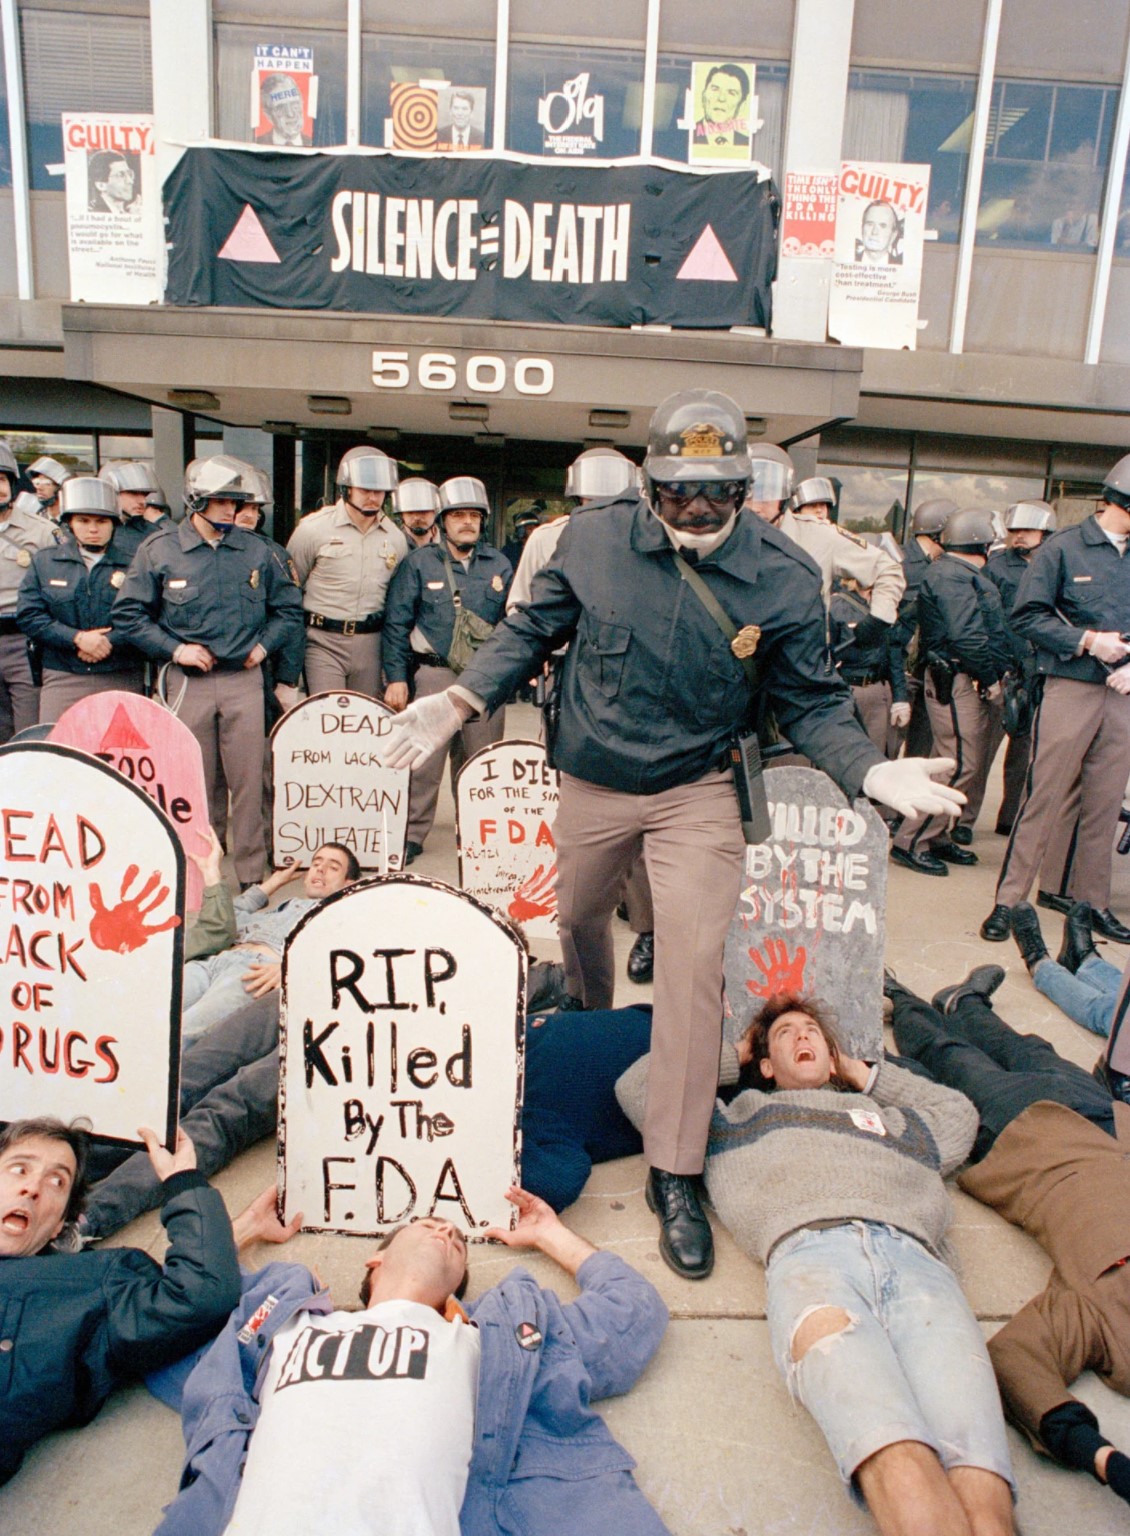
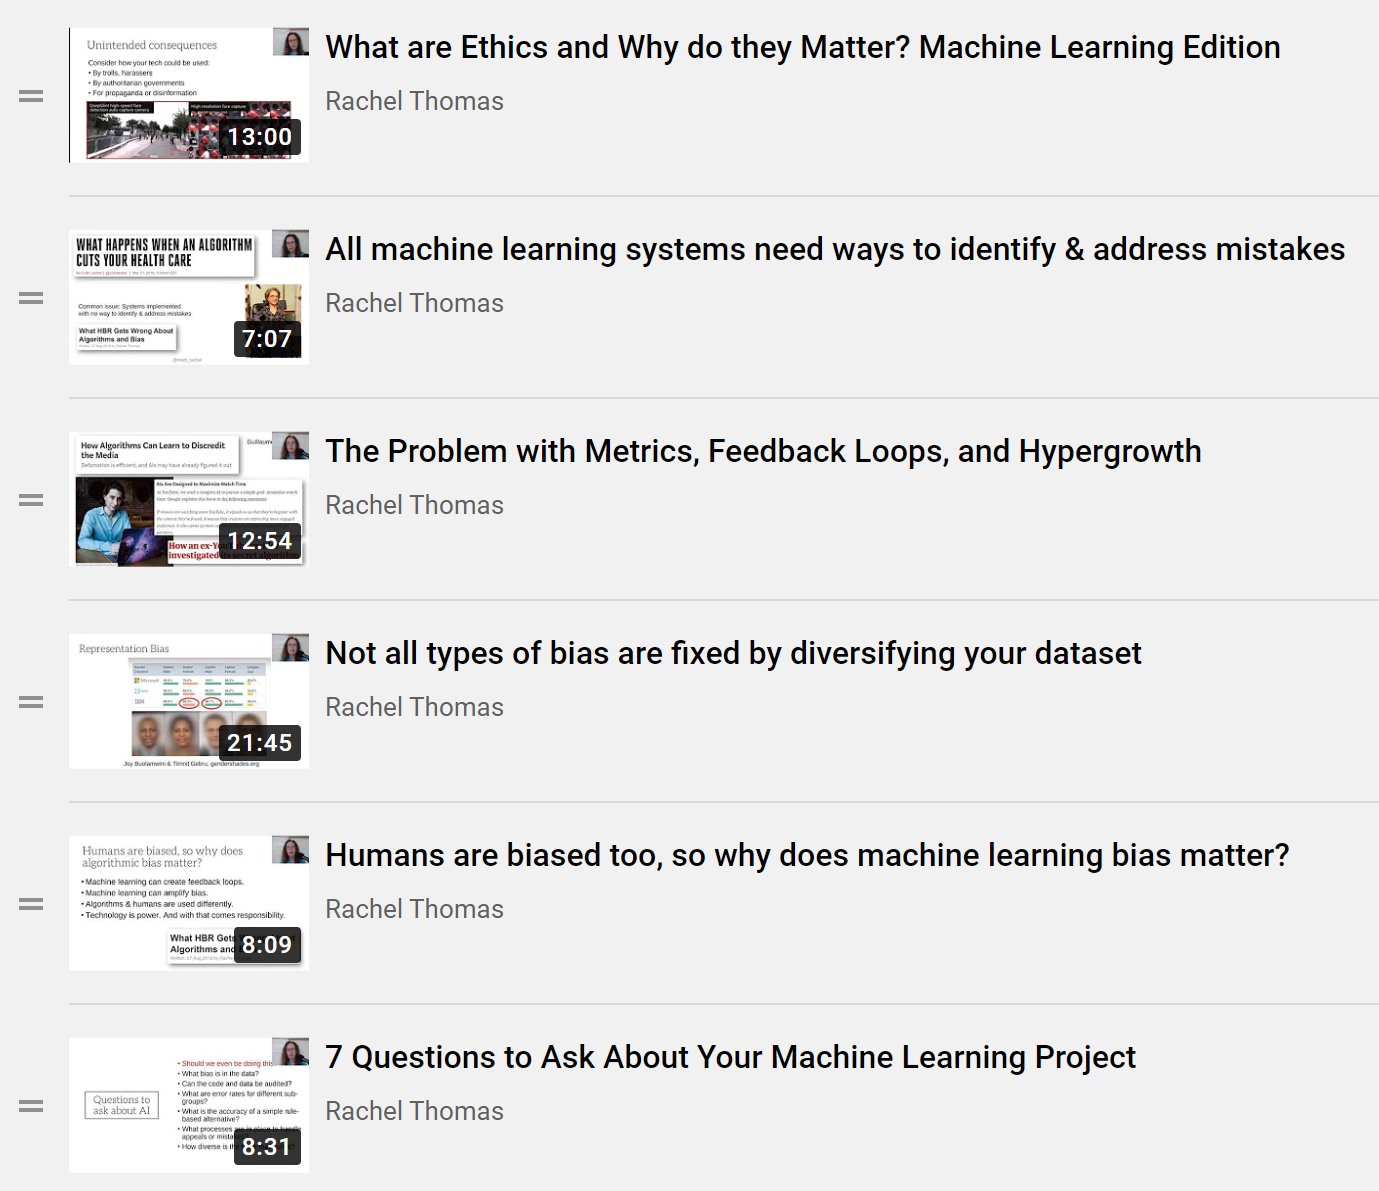


Applied Data Ethics, a new free course, is essential for all working in tech
ai-in-society
courses


No matching items